


Double click image to zoom in


Click image to open expanded view
Stay up to date on the latest sales, learn about new products and receive a promo code for 10% off your first order* when you sign up for emails.
*Excludes machinery & select brands. Click here for more details.


Have questions? Give us a call at 260-637-0054.
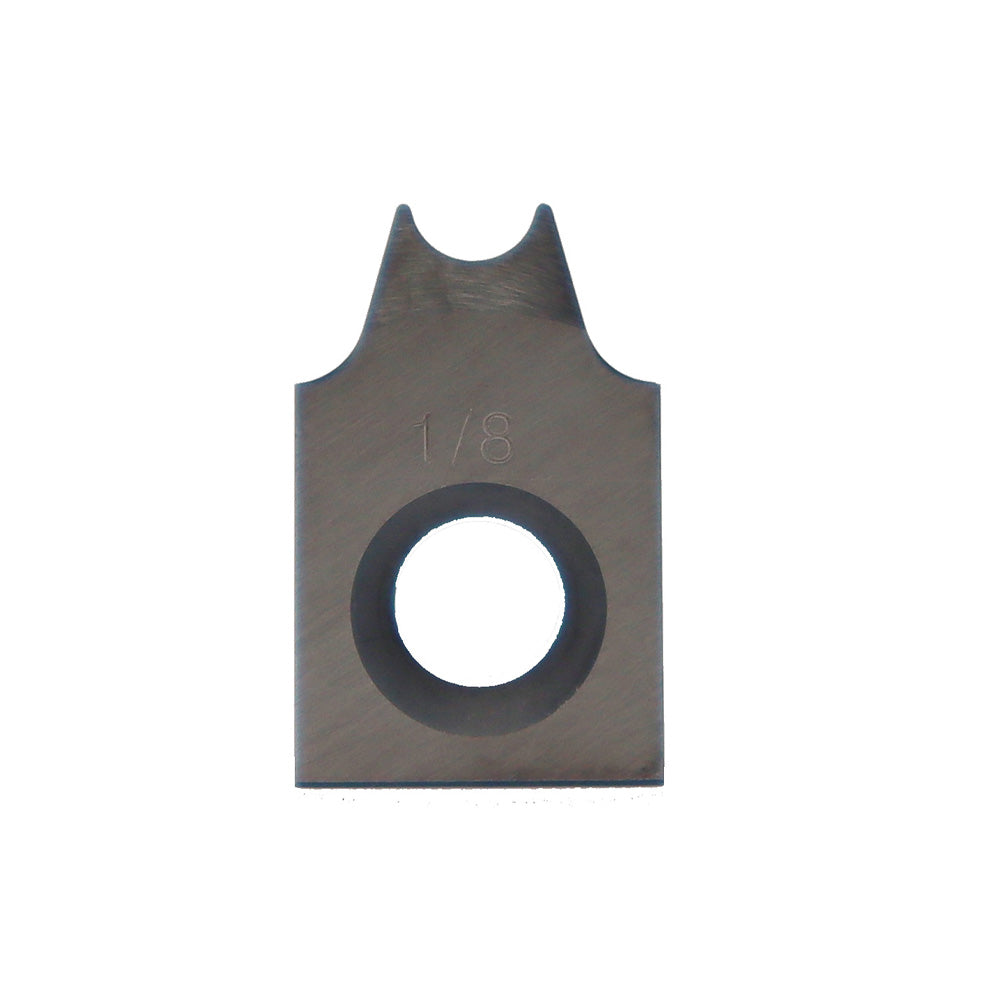
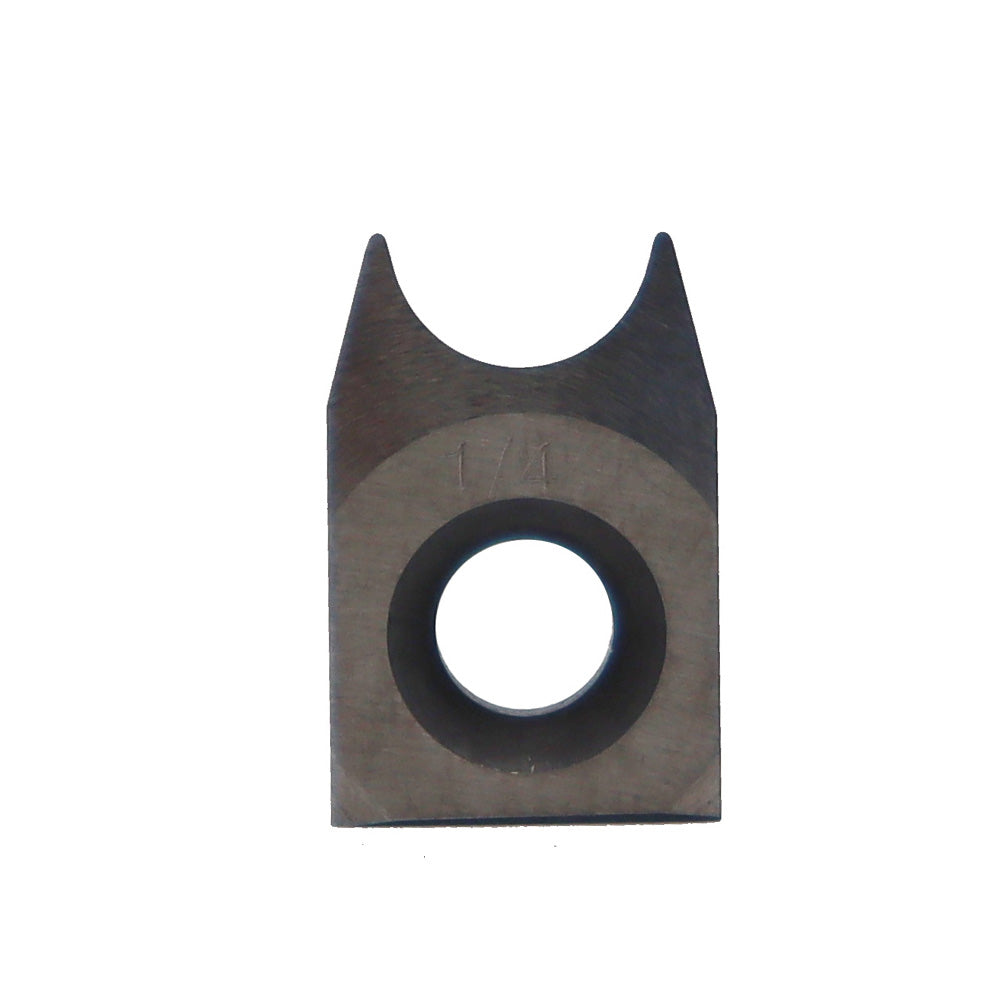
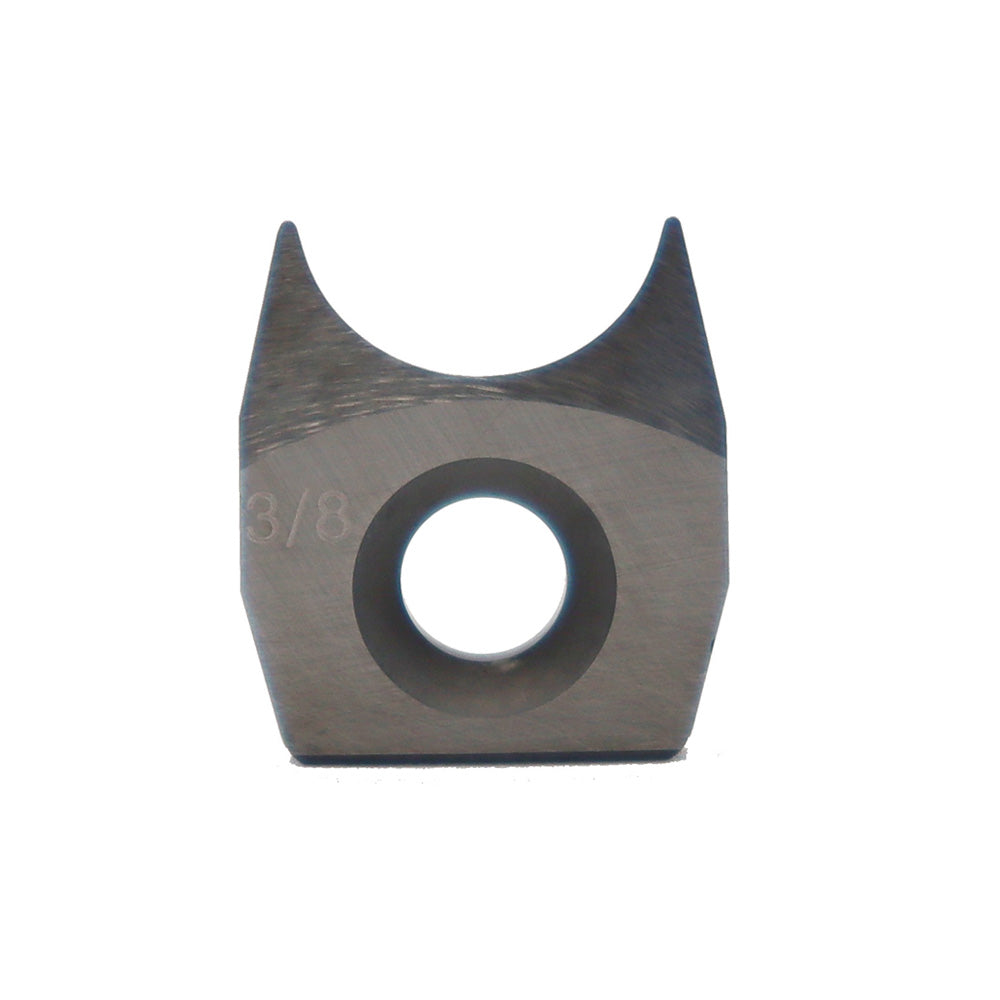
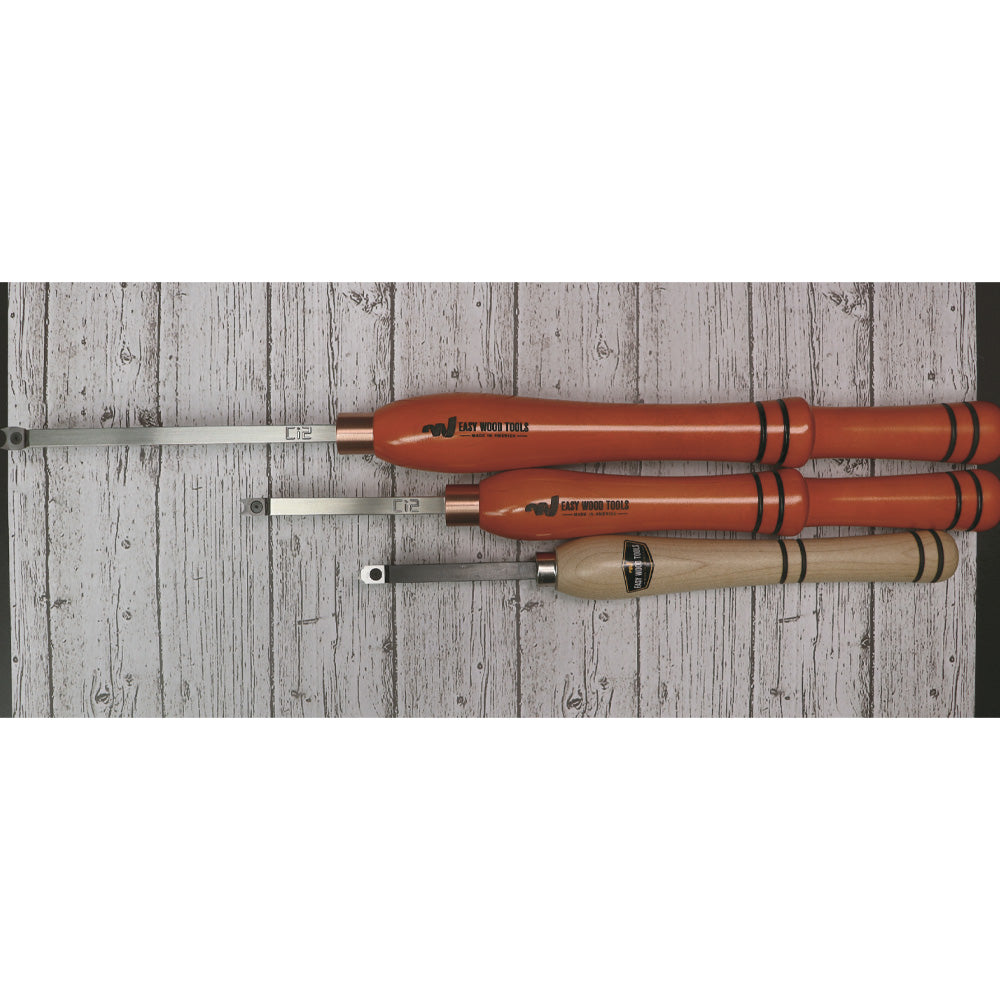
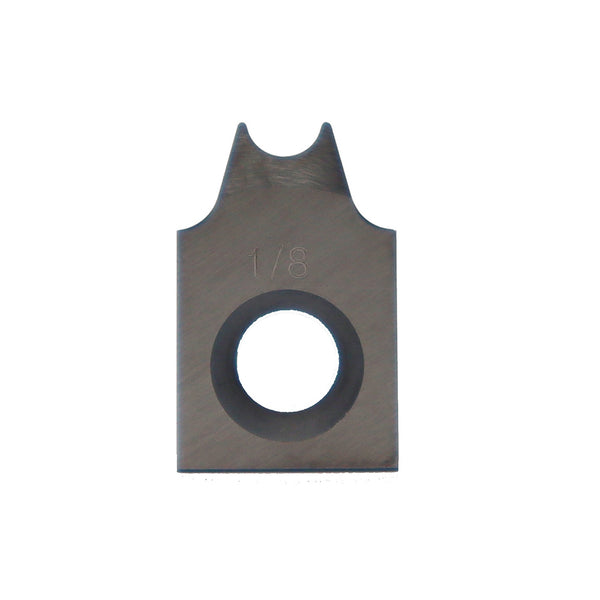
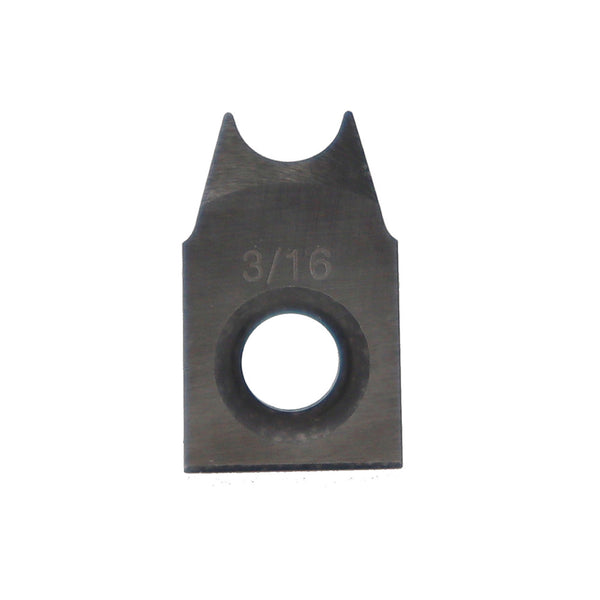
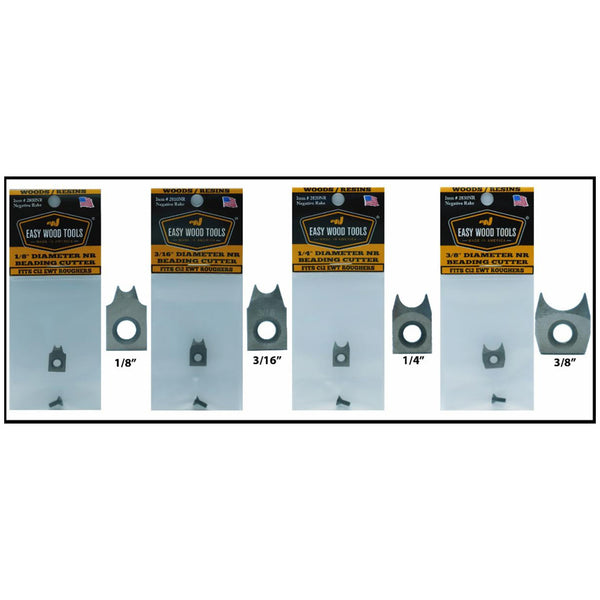
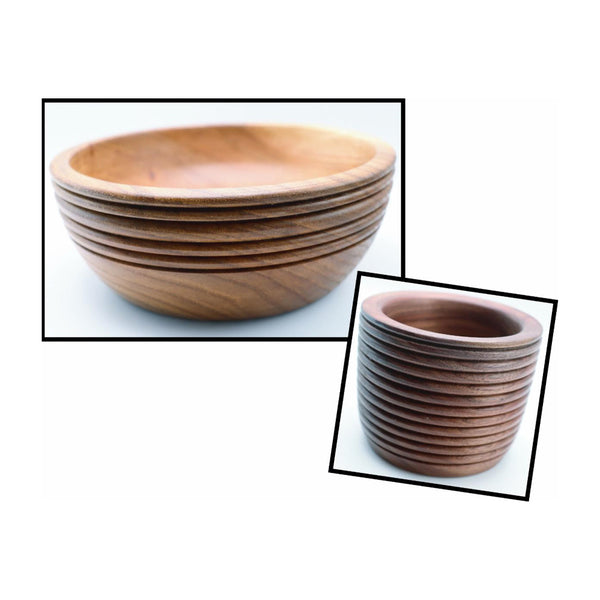
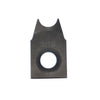
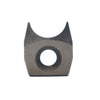
Take any project to the next level with Easy Wood Tools' Replaceable Negative Rake Carbide Beading Cutters. These cutters allow you to transform an Easy Wood Tools Easy Rougher into a Beading Tool with the simple addition of a supplemental Carbide Beading Cutter.
These Beading Cutters are Negative Rake design, so they are less aggressive and designed for use on man-made materials and woods. To attach, simply remove the standard cutter by using your hex key to remove the screw, then place the Beading Cutter with the bottom flat side aligned with the backstop on the cutter pocket. Use the hex key to install the screw back in the center and turn just to when the screw stops - do not overtighten.
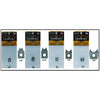
Fits on Easy Start, Mini Size, and Mid Size Easy Roughers. Available in 4 beading diameter sizes: 1/8", 3/16", 1/4", and 3/8".
*Do not force cutter forward or plunge hard. Maintain the tool flat on the tool rest and parallel to the floor as cutter advances - do not lift/tip tool.
OakTree Supply is a family owned and operated woodworking machinery, tool and supply store with a focus on quality brands you won't find in the big-box stores. Whether you are a hobbyist, a long-time pro, or even a business in need of industrial machinery, we can help!
Learn more on our About Us page.
Visit Our Retail Store:
14110 Plank Street
Fort Wayne, IN 46818
Stay in the loop about sales, new products, events, helpful information & more!
© 2024, OakTree Supply Powered by Shopify